
Can you tell which cookies Simon decorated?

Since we last year we dyed Easter Eggs with only natural pigments I thought it would be fun to try and make our own natural food dyes and use them to decorate our Christmas cookies. I learned a lot in the process and I will share my processes and then what I learned and what I would change next time. First some cute pictures of Simon Decorating our cookies : )
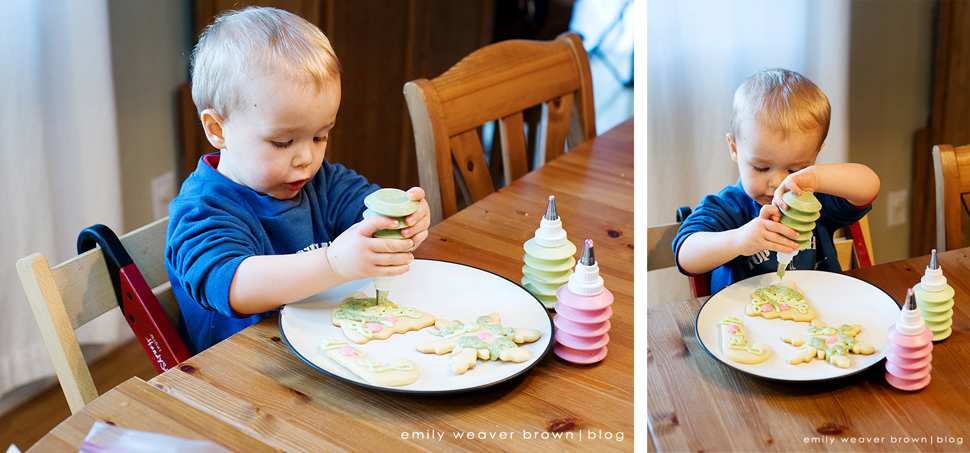
I bought Simon these nifty little icing containers thinking they would be perfect to cookie decorating and containing some of the mess. They proved pretty difficult for him to be to squeeze, he just doesn’t have the dexterity yet. I decided he would be better off just with icing in bags.
it quickly turned into this…
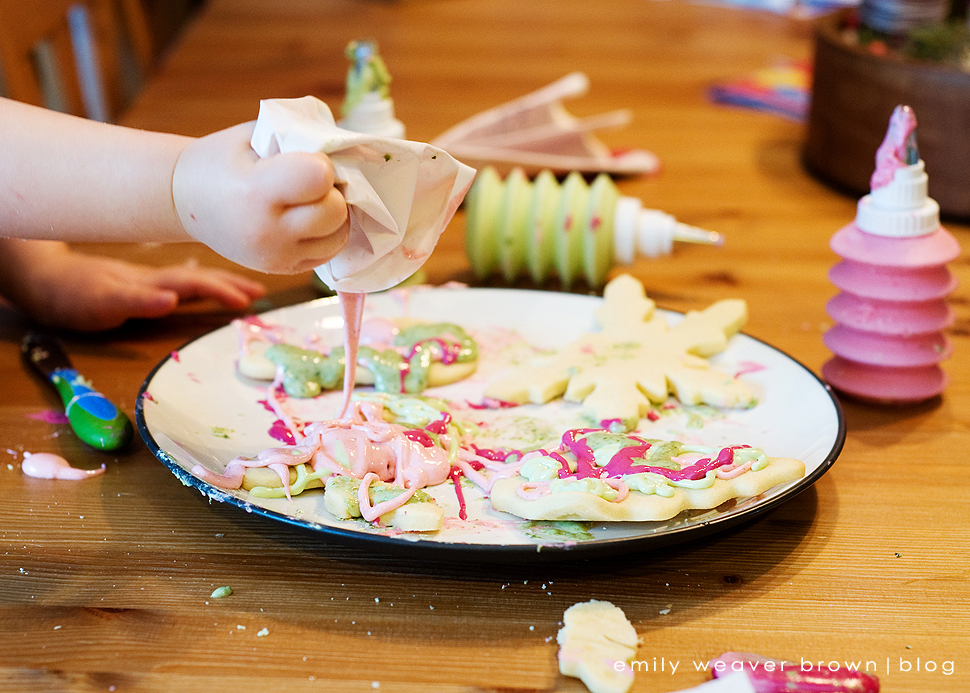 Next time I will know just to put the icing in zip lock bags and cut the corner off. By the end of this project pretty much every surface in my house was sticky.
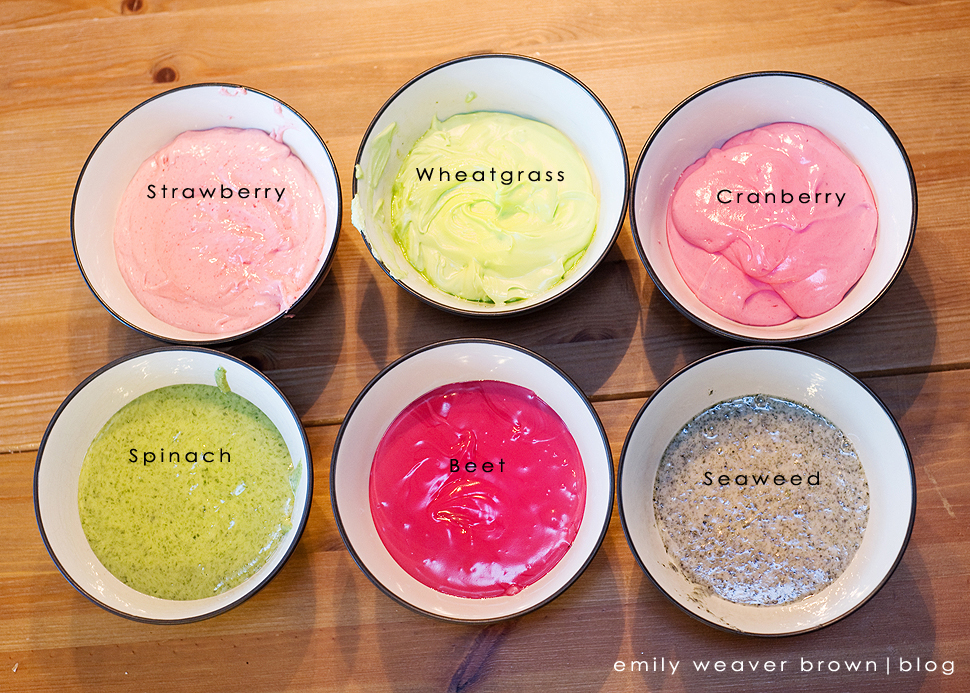
The pigments we used in the icing were made from the following foods; strawberry, wheatgrass, cranberry, spinach, beet, and seaweed. I was trying for a Christmassy red and green. By far my favorites were the beet and wheatgrass. They both produced bright vivid colors and tasted wonderful. I loved the strawberry for flavor because it was really flavorful – packed with strawberry taste but the color was pretty pail (I would use this for a strawberry cake though). The seaweed was a big mistake. It tasted like minty fish – it was disgusting! Just don’t even try it. I knew from the moment that I opened the lid on the food processor that it was not going to turn out well but at that point I was committed so I just tried to cover up the fish flavor with peppermint extract – it didn’t work. All the other flavors tasted great – especially the beet which surprised me since I thought it would have that typical earthy flavor but instead it tasted like a vaguely familiar berry.
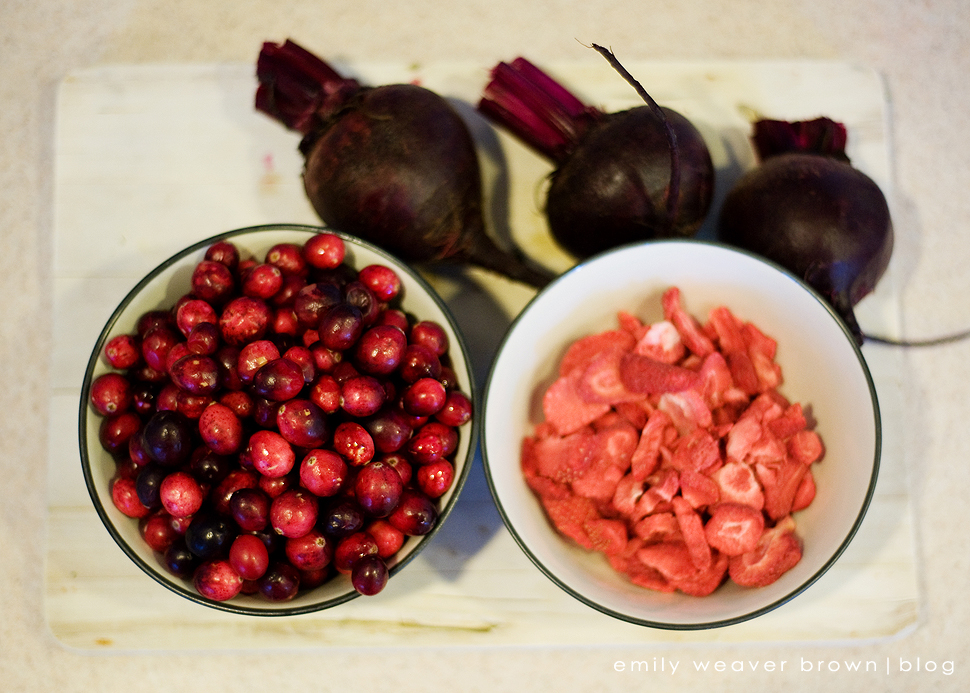
The natural red food coloring ingredients
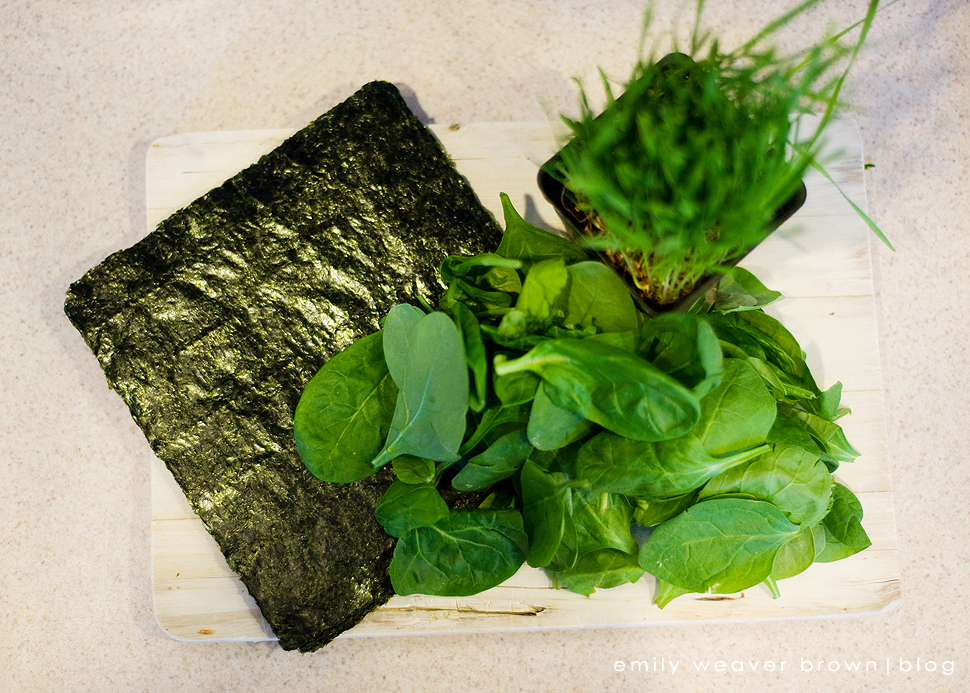
the natural green food coloring ingredients
Here is how I made our natural food colorings
Cranberry
1. Boil down one bag of cranberries with about 4 cups of water – boil until all cranberries have popped and sauce is thick.
2. Puree cranberry sauce in the food processor
3. Push cranberry sauce through a fine mesh sieve
Strawberry
1. Put store bought freeze dried strawberries in a food processor process until a fine powder
Seaweed (Nori) – NOT RECOMMENDED
1. Put store bought nori sheets (for sushi) in a food processor process until a fine powder
Spinach
1. Steam 2 -3 cups spinach leaves until bright green
2. Combine in food processor with 1 tablespoon peppermint extract and 3 capsules Ascorbic Acid – blend until smooth
A note on the spinach – I thought that the spinach flavor would be to strong so I added peppermint extract to cover up the spinach flavor – it worked a little to well and combined with the taste of the vitamin C it sort of tasted like tooth paste – not a bad taste but not my favorite either. next time I would leave out the peppermint
Wheatgrass
1. Puree about 1/3cup wheatgrass with 3 capsules ascorbic acid and 3 tablespoons water.
2. Push puree through a fine mesh sieve to make wheat grass juice
the ascorbic acid is used as a natural preservative to help keep the plant leaves from turning brown. I learned this trick from a pest recipe years ago.
Beet
1. place beets (tops removes) in glass dish with about 2 inches of water. Cover with foil and bake at 400 for about 45 min (up to an hour for very large beets).
2. Let beets cool, remove from beet juice. ( at this point you may want to make this tasty beet salad with the beets)
3. Move beet juice to a pot and boil until juice is reduced to a thick syrup.
Once I had my coloring additives I used this recipe for royal icing. I cut the recipe in half for each color since I was making so many color I didn’t think I needed 4 lbs of icing.
The process for the wet dyes was as follows :
Combine confectioner’s sugar and meringue powder in the mixer, stir to combine
Add liquid coloring one tablespoon at a time until icing reaches desired consistency.
The process for the powdered dyes was as follows:
Combine confectioner’s sugar and meringue powder, and about 1/4cup powdered coloring in the mixer, stir to combine
Add water one tablespoon at a time until icing reaches desired consistency.
This recipe made for very thick icing and since I wanted it a bit more runny so it would dry smooth I ended adding about 2 more tablespoons of liquid per batch.
Here are photos at each step of the process.

1. cranberries being cooked down into “cranberry sauce”
2. Completely cooked cranberries
3. cranberries after having been run through the food processor, being pushed through a sieve
4. finished cranberry sauce
5. freeze dried strawberries in food processor
6. powdered freeze dried strawberries
7. crumpled sheets of nori in food processor
8. powered nori
9. steaming spinach until bright green
10. pureeing spinach with peppermint extract
11. pureeing wheatgrass with water
12. my secret to keeping greens green – vitamin C.
13. beets being prepped for cooking
14. cooked beets in “juice”
15. boiling down beet juice
16. finished beet juice reduced to about 4 table spoons of syrup.
Here is what the finished icings looked like
Here are the colors that the icings dried to
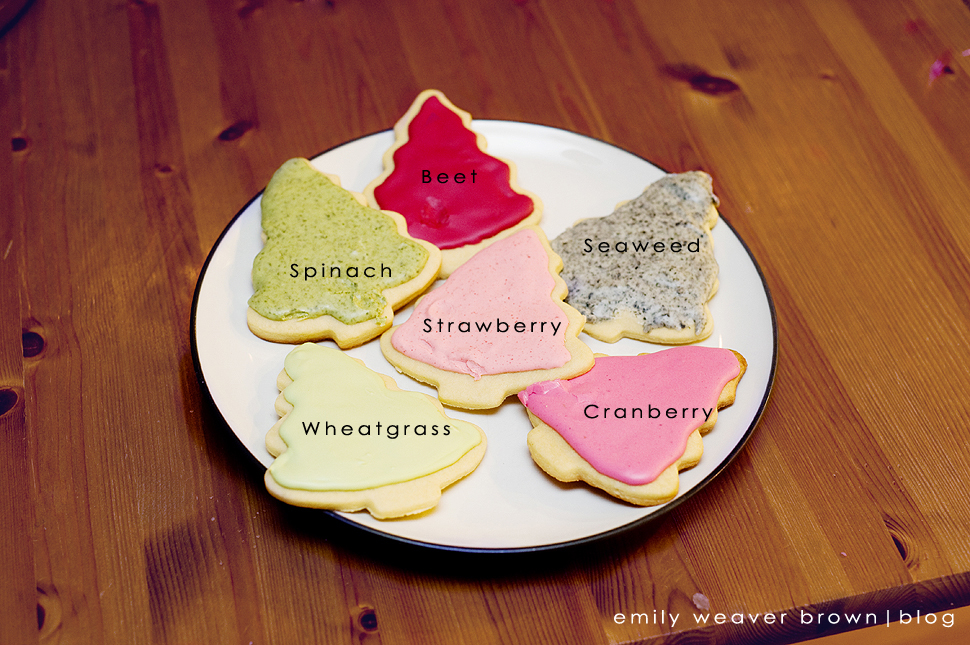
(Simon messed up a bunch of my frosting job by poking his fingers into the half dried icing)
All but the seaweed tasted and looked wonderful. I only iced the one cookie with the seaweed for demonstration purposes and I gave it to Myles. When he first bit into it he said mmm – minty. After he had eaten about half of it I asked him if he really liked it – he said the mint flavor was really strong and that he thought there was another flavor in it but he couldn’t nail it down. Then he said “Why!? what’s in this?!” (I am known for a bit of experimental cooking – I have bade brownies with black beans and grasshopper pie with avocado – Myles is often the guinea pig) I asked if he thought it tasted fishy at all and at that point he got really grossed out and stopped eating the cookie. (I don’t know how he ate any of it, it tasted disgusting! – Simon thought so too)
So this was our experiment – we had a lot of fun and next time I think we will branch out and try other colors. My synopsis is that the beet boiled down juice method was the most successful at getting a bright color and easiest method. I would stick with that. I also liked that to make beet juice I ended up with tasty beets for dinner – nothing was wasted. Next time I would like to expand on this method to try other colors from pre-juiced fruits and vegetables. I think buying store bought juices would save a lot of time and I can imagine the colors that would result from juices like blueberry, carrot, and pomegranate. It’s simple to boil a cup or two of juice down to a syrup so if you try it and make icing send me a note!
Until next time
-Emily
My Portfolio | Contact Me | Follow Me @emilyWbrown
 .
.


Emily! Awesome job!!! I love the step-by-step instructions (and pics of course) and I’m psyched to try this! I agree that the beet looks the most vibrant… and I want to try the wheat grass one too!!! Simon is an adorable mess as always!!!!
oh my goodness, I laughed out loud a couple times(tooth paste and Myles eating the fishy cookie:). Eddy said this is sacrilegious, haha…I so enjoy reading and seeing your experimental cooking! Fun!(something I could NEVER do).
I love the colors! I agree that beet color is fantastic and good for anytime of year. Thanks for sharing what you learned!
I suppose you can’t help being an experimental cook since your mom made you eat turkey bacon out of the microwave growing up! 🙂 Remember the time we tried to dye ham green for green eggs and ham?
Emily- you blow my mind by how creative / talented you are!!
Hi,
I am so happy I found your blog with this natural way to color foods. I wonder if you’ve ever tried the beet color for red velvet cake? If so, was it intense enough? If not, do you think it would be intense enough?!
Thanks,
Susan
I have never tried red velvet cake but I did see a recipe for it made with beets. I think I would definitely work!
How much basil did you use?
Hi Emily, Great information. I am planning to make some cupcakes for my daughter’s birthday. What you do recommend for a vibrant purple color for royal icing and for buttercream frosting? She likes everything purple.
I can’t wait to try your techniques for the natural food colors. Love it.
Thank you so much.
Sapna
blackberries makes the best purple!